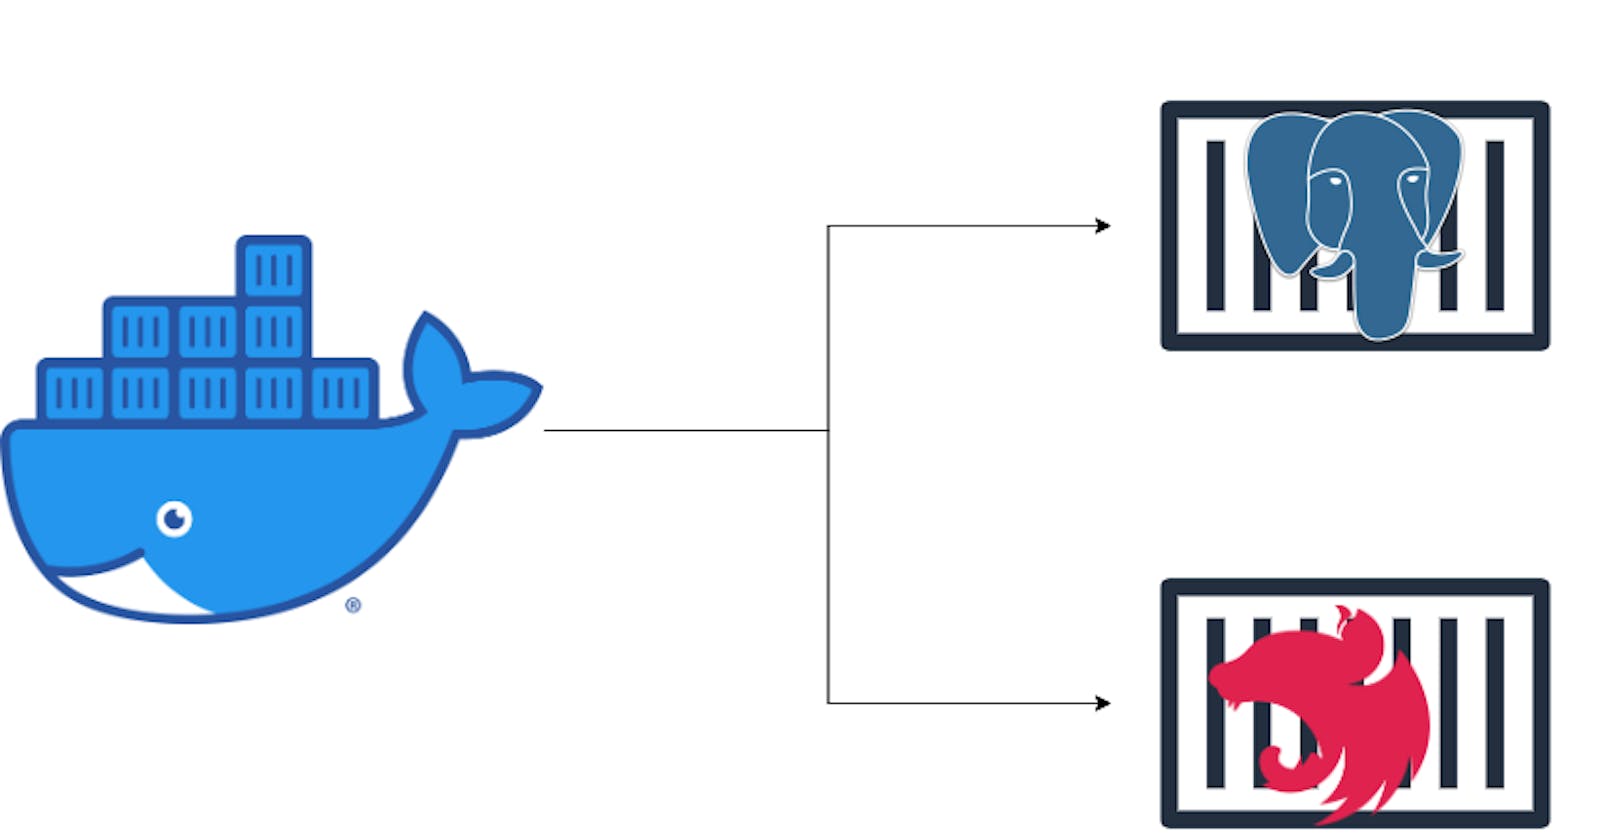
In this article, we would be containerizing a nestjs application that uses a Postgresql database with docker. Containerization has become crucial in ensuring apps the apps we build run anywhere without having to worry about platform compatibility. This guide is not an introduction to docker or nestjs so we would assume we are familiar with the basics of nestjs, docker, and docker-compose (we use docker-compose in this guide to make our lives easier).
Pre-requisite
To follow this guide we are gonna need
A text editor or an IDE
We technically only need docker and docker-compose to run our app but in development, you'll typically have your language-specific tools installed.
Getting started
First, we would grab the nestjs app we would be containerizing from github using degit to get copy the contents of the repo (that should get us up to speed).
npx degit https://github.com/Xavier577/nestjs-prisma-starter.git containerized-nestjs-app
The project directory
.
├── README.md
├── nest-cli.json
├── package.json
├── prisma
│   └── schema.prisma
├── src
│   ├── api
│   ├── app.controller.spec.ts
│   ├── app.controller.ts
│   ├── app.module.ts
│   ├── app.service.ts
│   ├── common
│   │   ├── decorators
│   │   │   └── match.decorator.ts
│   │   └── enums
│   ├── database
│   │   ├── database.module.ts
│   │   └── prisma.service.ts
│   ├── main.ts
│   └── swagger.ts
├── test
│   ├── app.e2e-spec.ts
│   └── jest-e2e.json
├── tsconfig.build.json
├── tsconfig.json
└── yarn.lock
The scaffolded project is a nestjs app already configured with Prisma as our ORM (We would be using Postgresql would be our database).
Let's go through some files
main.ts
// src/main.ts
import { Logger } from '@nestjs/common';

import { NestFactory } from '@nestjs/core';

import { AppModule } from './app.module';

import { SwaggerInit } from './swagger';


async function bootstrap() {

  const app = await NestFactory.create(AppModule);


  SwaggerInit(app);


  await app.listen(3000);


  const appUrl = await app.getUrl();


  Logger.log(`app is running on ${appUrl}`, 'NestApplication');

}

bootstrap();
swagger.ts
// src/swagger.ts

import { INestApplication } from '@nestjs/common';

import { DocumentBuilder, SwaggerModule } from '@nestjs/swagger';


export function SwaggerInit(app: INestApplication) {

  const config = new DocumentBuilder()

    .setTitle('Nest api')

    .setDescription('API built with nestjs')

    .setVersion('1.0')

    .addTag('API')

    .build();


  const document = SwaggerModule.createDocument(app, config);


  SwaggerModule.setup('/api/docs', app, document);

}
app.module.ts
// src/app.module.ts

import { Module } from '@nestjs/common';

import { AppController } from './app.controller';

import { AppService } from './app.service';

import { DatabaseModule } from '@database/database.module';


@Module({

  imports: [DatabaseModule],

  controllers: [AppController],

  providers: [AppService],

})

export class AppModule {}
app.controller.ts
// src/app.controller.ts

import { Body, Controller, Get, Post } from '@nestjs/common';

import { AppService } from './app.service';

@Controller()

export class AppController {

  constructor(private readonly appService: AppService) {}

  @Get()

  public getHello(): string {

    return 'Hello there';

  }

}
prisma.service.ts
// src/database/prisma.service.ts
import { Injectable, OnModuleInit, OnModuleDestroy } from '@nestjs/common';

import { PrismaClient } from '@prisma/client';


@Injectable()

export class PrismaService extends PrismaClient implements OnModuleInit,OnModuleDestroy
{

  async onModuleInit() {

    await this.$connect();

  }


  async onModuleDestroy() {

    await this.$disconnect();

  }

}
database.module.ts
// src/database/database.mocule.ts
import { Module } from '@nestjs/common';

import { PrismaService } from './prisma.service';


@Module({

  providers: [PrismaService],

  exports: [PrismaService],

})

export class DatabaseModule {}
Looking through the files you can see we already have prisma and swagger setup. Our server starts on port 3000 although we can change this to whatever we want, for simplicity we'll leave it as it is.
Setting up docker
Creating docker-compose file
we would actually be using docker compose to run our containerized app so we are gonna need to create our docker compose file to set our configurations.
version: '3.7'

services:

  db:

    image: postgres:12-alpine

    networks:

      - postgres

    environment:

      POSTGRES_PASSWORD: postgres

      POSTGRES_USER: postgres

      POSTGRES_DB: nestjs-app

    volumes:

      - ./pgdata:/var/lib/postgresql/data

    ports:

      - '5432:5432'

  server:

    image: nestjs-docker-build

    depends_on:

      - db

    networks:

      - postgres

    ports:

      - '3000:3000'

networks:

  postgres:

    driver: bridge
we would be using a postgres:12-alpine image from docker with the postgres container being run locally but in production it's advisable to use a managed database solution and connect it to from your container. We are using volumes to persist our db, and we mapped our computer's port 5432 to our docker conatainer's port 5432. Our server and db are running on the postgres network to enable them to connect.
Setting up our image for the server
Speaking of containers, for docker-compose to run our server in the compose file we must define our build step for our custom image in our docker file.
# stage 1 building the code

FROM node:18-alpine as builder

WORKDIR /usr/app

COPY package*.json ./

RUN yarn install

COPY . .

RUN yarn prisma:generate

RUN yarn build


# stage 2

FROM node:18-alpine

WORKDIR /usr/app

COPY --from=builder /usr/app/dist ./dist

COPY --from=builder /usr/app/node_modules ./node_modules/

COPY --from=builder /usr/app/package*.json ./


COPY .env .


EXPOSE 3000


CMD node dist/main.js
Creating the .env file
For prisma to connect to our database we would need create a .env file with set the value of our DATABASE_URL which would be the url to our db container.
Create the
.envin the root directoryAdd
DATABASE_URL=postgres://postgres:postgres@db:5432/nestjs-appto the.envfile (notice the url followspostgres://<username>:<password>@<host>:<port>/<database>)
Adding dockerignore
To prevent copying over some files to our container, we would add those files to our .dockerignore file (similar to a .gitignore).
dist
node_modules
Building the image for our server
Now we'll build our image from the docker file. The name of the image must be the same as that in our docker-compose file.
docker build -t nestjs-docker-build
❯ docker build -t  nestjs-docker-build .
[+] Building 104.0s (15/15) FINISHED
 => [internal] load build definition from Dockerfile                                                                                                     0.1s
 => => transferring dockerfile: 427B                                                                                                                     0.0s
 => [internal] load .dockerignore                                                                                                                        0.0s
 => => transferring context: 2B                                                                                                                          0.0s
 => [internal] load metadata for docker.io/library/node:18-alpine                                                                                        0.0s
 => [internal] load build context                                                                                                                        2.9s
 => => transferring context: 3.26MB                                                                                                                      2.8s
 => [builder 1/6] FROM docker.io/library/node:18-alpine                                                                                                  0.0s
 => CACHED [builder 2/6] WORKDIR /usr/app                                                                                                                0.0s
 => CACHED [builder 3/6] COPY package*.json ./                                                                                                           0.0s
 => CACHED [builder 4/6] RUN yarn install                                                                                                                0.0s
 => [builder 5/6] COPY . .                                                                                                                              18.0s
 => [builder 6/6] RUN yarn build                                                                                                                        18.0s
 => [stage-1 3/6] COPY --from=builder /usr/app/dist ./dist                                                                                               0.2s
 => [stage-1 4/6] COPY --from=builder /usr/app/node_modules ./node_modules/                                                                             26.8s
 => [stage-1 5/6] COPY --from=builder /usr/app/package*.json ./                                                                                          1.7s
 => [stage-1 6/6] COPY .env .                                                                                                                            0.5s
 => exporting to image                                                                                                                                  21.5s
 => => exporting layers                                                                                                                                 21.5s
 => => writing image sha256:7e51e060e91aab603405fa36f938ccb84adf4afc20184f578991bc3330eedb73                                                             0.0s
 => => naming to docker.io/library/nestjs-docker-build
if everything works properly, you should get the output above.
Retry logic for db connection
It would take a little bit of time for our database to be ready to start accepting connections so we must make sure our server retries until it's able to connect.
// src/database/prisma.service.ts

import {

  Injectable,

  OnModuleInit,

  OnModuleDestroy,

  Logger,

} from '@nestjs/common';

import { PrismaClient } from '@prisma/client';


@Injectable()

export class PrismaService

  extends PrismaClient

  implements OnModuleInit, OnModuleDestroy

{

  private readonly logger = new Logger(PrismaService.name);

  async onModuleInit() {

    let retries = 5;

    while (retries > 0) {

      try {

        await this.$connect();

        this.logger.log('Successfully connected to database');

        break;

      } catch (err) {

        this.logger.error(err);

        this.logger.error(

          `there was an error connecting to database, retrying .... (${retries})`,

        );

        retries -= 1;

        await new Promise((res) => setTimeout(res, 3_000)); // wait for three seconds

      }

    }

  }


  async onModuleDestroy() {

    await this.$disconnect();

  }

}
in our PrismaService, onModuleInit() is where we try to connect to our database so we adjusted the logic to retry 5 times and wait 3 seconds (3000 milliseconds) before each try. if we can connect successfully, we log out Successfully connected to database otherwise we log the number of retries left and reduce the number of times we can retry.
Running the containers
To run the entire application we would be using the docker compose command.
docker compose up

to close the app, in another terminal window run:
docker compose down
and to run it in the background
docker compose up -d
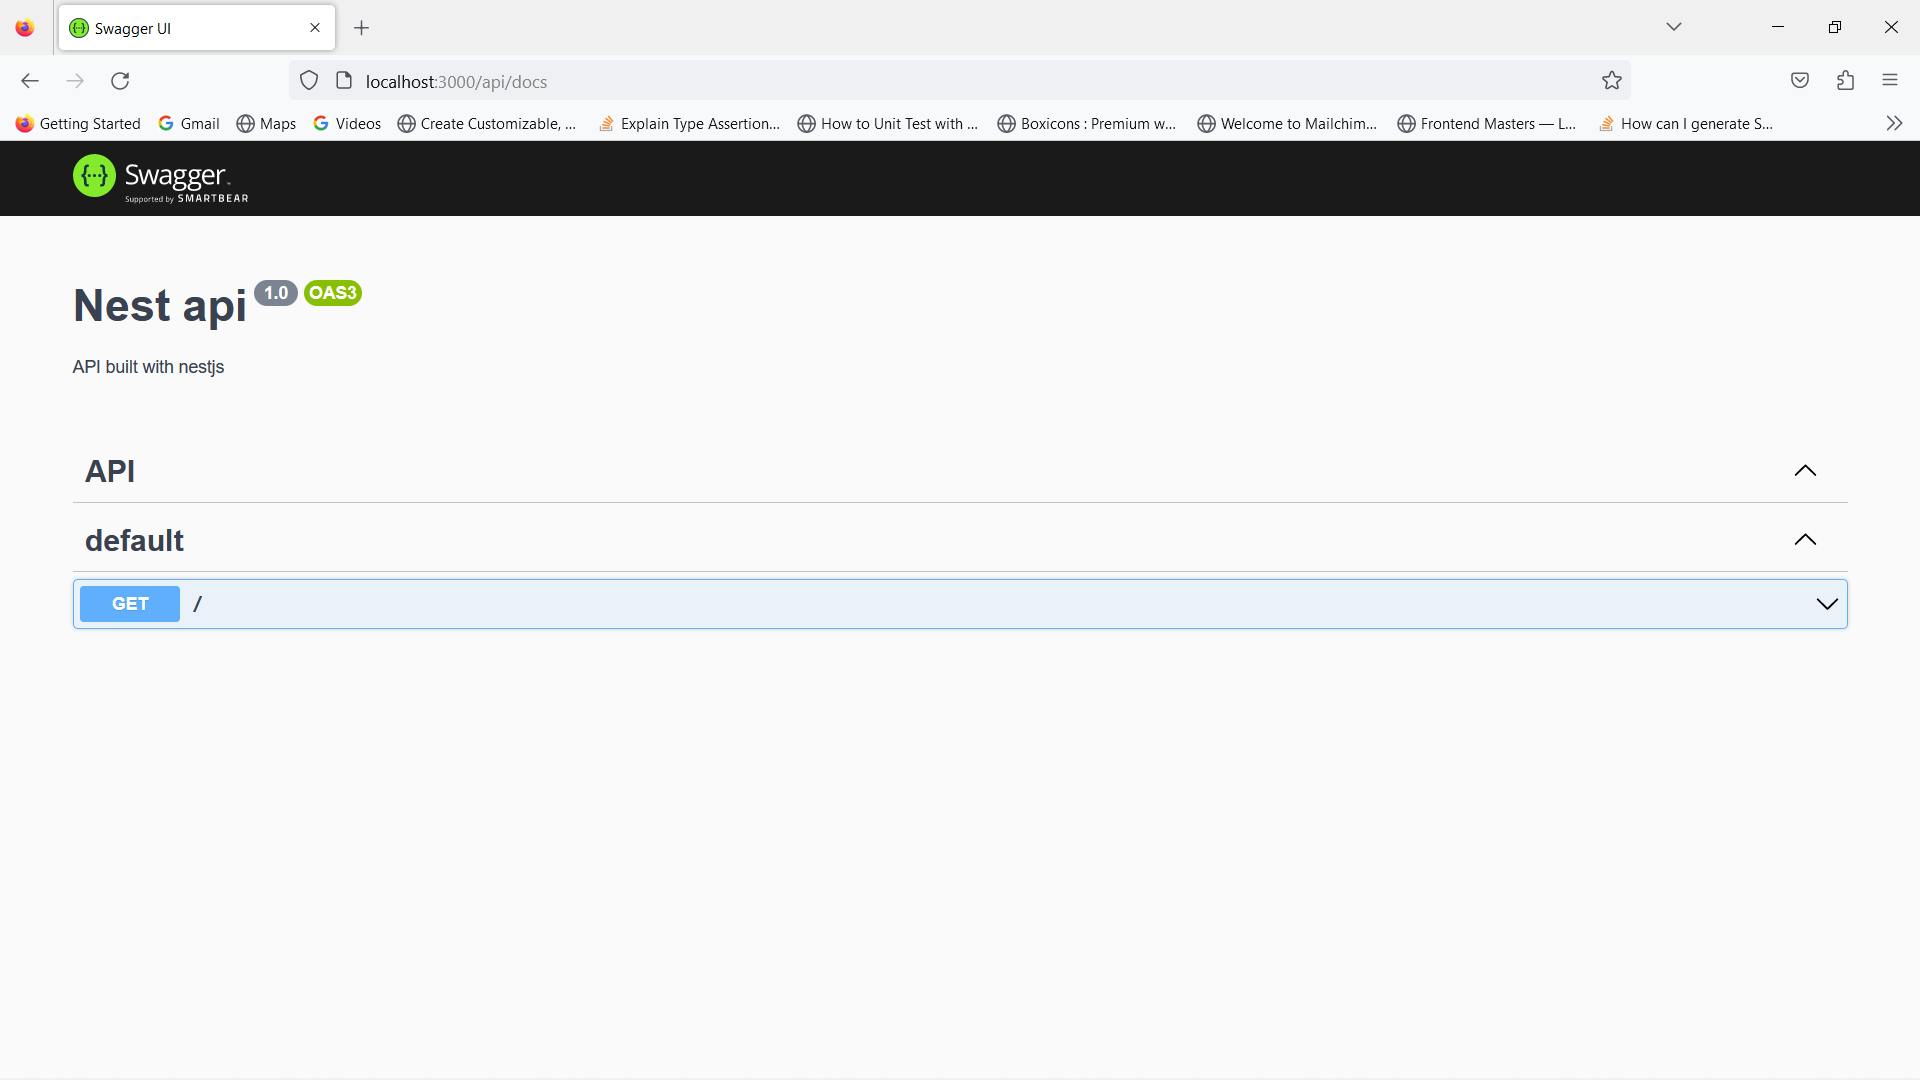
Let's check our running server on our browser

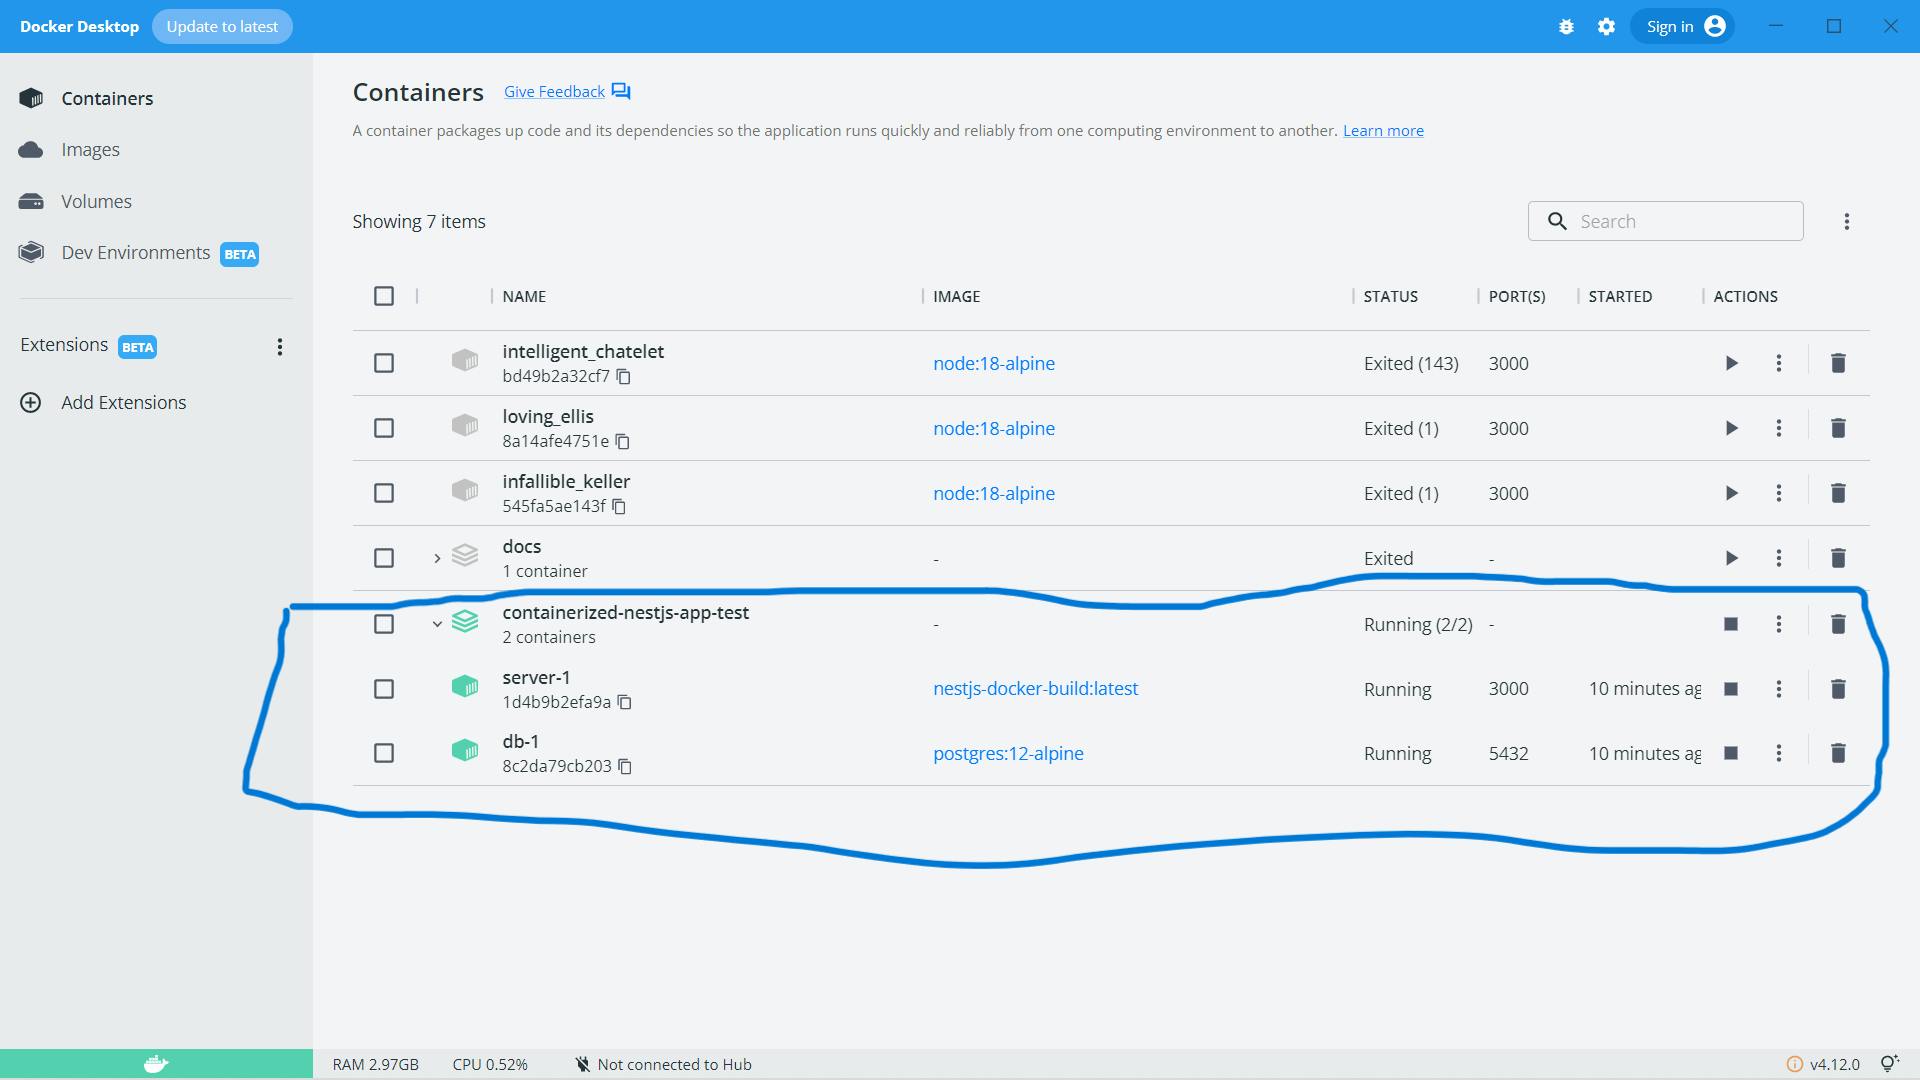
View our running container on docker desktop
While our containers are running we can view them on our docker desktop to see them running here as well.

Conclusion
Being able to push your app to production without much configuration after the initial setup is something you want to be able to do. We have seen how this can be done in a nestjs application with docker, there are resources everywhere to set up other applications in other programming languages. The docker doc can serve as a good guide.
